September 28, 2026
Skills Insert 1: Bull Thistle Tank Top
It’s been a busy month, with the start of fall quarter and transitioning to a new home. A lot of time went into getting my space into a state where it was at least moderately functional, and very little time went into actually sewing. Nevertheless, I was able to work through and make edits on the first half of Skills Insert 1, including: Facings, Closures, Plackets, Pockets, Hems, and Seam Finishes. Most of this material was review for me, but it was still helpful to approach it from the perspective of a pattern designer rather than your run of the mill intermediate sewist.
At last I hit Skills Insert 1: Study Project A, and now, finally, finally I get to delve into my goal for developing this manual in the first place: MAKING CLOTHES I’LL ACTUALLY WEAR!
The prompt for Study Project A is:
Use your basic bodice block to design and sew a sleeveless top where the waist darts are transferred to another location using the slash and spread or pivotal transfer methods. As part of the design, the top should have an integrated button placket closure, which may be located at the front, back, or side seams.
While it’s nothing groundbreaking, I think including this sleeveless top as an assignment is crucial for integrating all the skills we’ve touched on so far. First, it’s an opportunity to test out the fit and function of the bodice block as a real garment. Second, it’s a direct application of dart manipulation theory in Module 2. And third, it includes most of the skills covered in Skills Insert 1, including an extension placket with a button closure.
For my sleeveless top, I toyed with the idea of either a cropped V-neck or a slightly longer sleeveless top with a crewneck/boatneck and hem facing. Ultimately, I went with the cropped V-neck because I felt it was more my style. I still have an itch to come back to option #2 though!
It only took two drafts to get to a pattern I was satisfied with. What I did:
- Used my sleeveless bodice block as a starting point
- Lengthened the bodice 1” so the side seam length was 8”, or about 17” length from shoulder to hem
- Reduced shoulder width to 2.375”, with most of the material (~2”) removed from the shoulder side of the shoulder seam
- Brought the entire shoulder seam forward 0.5”
- Rotated the back bodice shoulder dart to the waist dart and redistributed the entire dart as ease, then brought in the waist at the side seam until the bottom hem of the back bodice measured 8”
- Scooped the back neckline down by about 1”
- Rotated the front bodice waist dart to the side seam at about 2” down from the armhole, with enough ease left/redistributed at the waist so the bottom hem measured 8.5”
- Lowered the front neckline by 6” to a V-neck that sits just above my cleavage point
- Lowered the armhole 0.25” and brought in the armpit by 0.25”
- Lowered the bust apex 0.25” and adjusted the dart angle accordingly
- Lengthened the front by 0.375” and raised the back by 0.375” to balance the hem
- Drafted a rolled hem with 0.5” and 0.25” folds
- Drafted a front placket extension of 0.5” (for a 0.5” button) with 1” and 0.375” folds
- Drafted a shaped placket interfacing pattern piece
- Drafted bias binding pattern pieces (1.5” wide, 36” for neckline, 24” for armhole; about 4” extra)
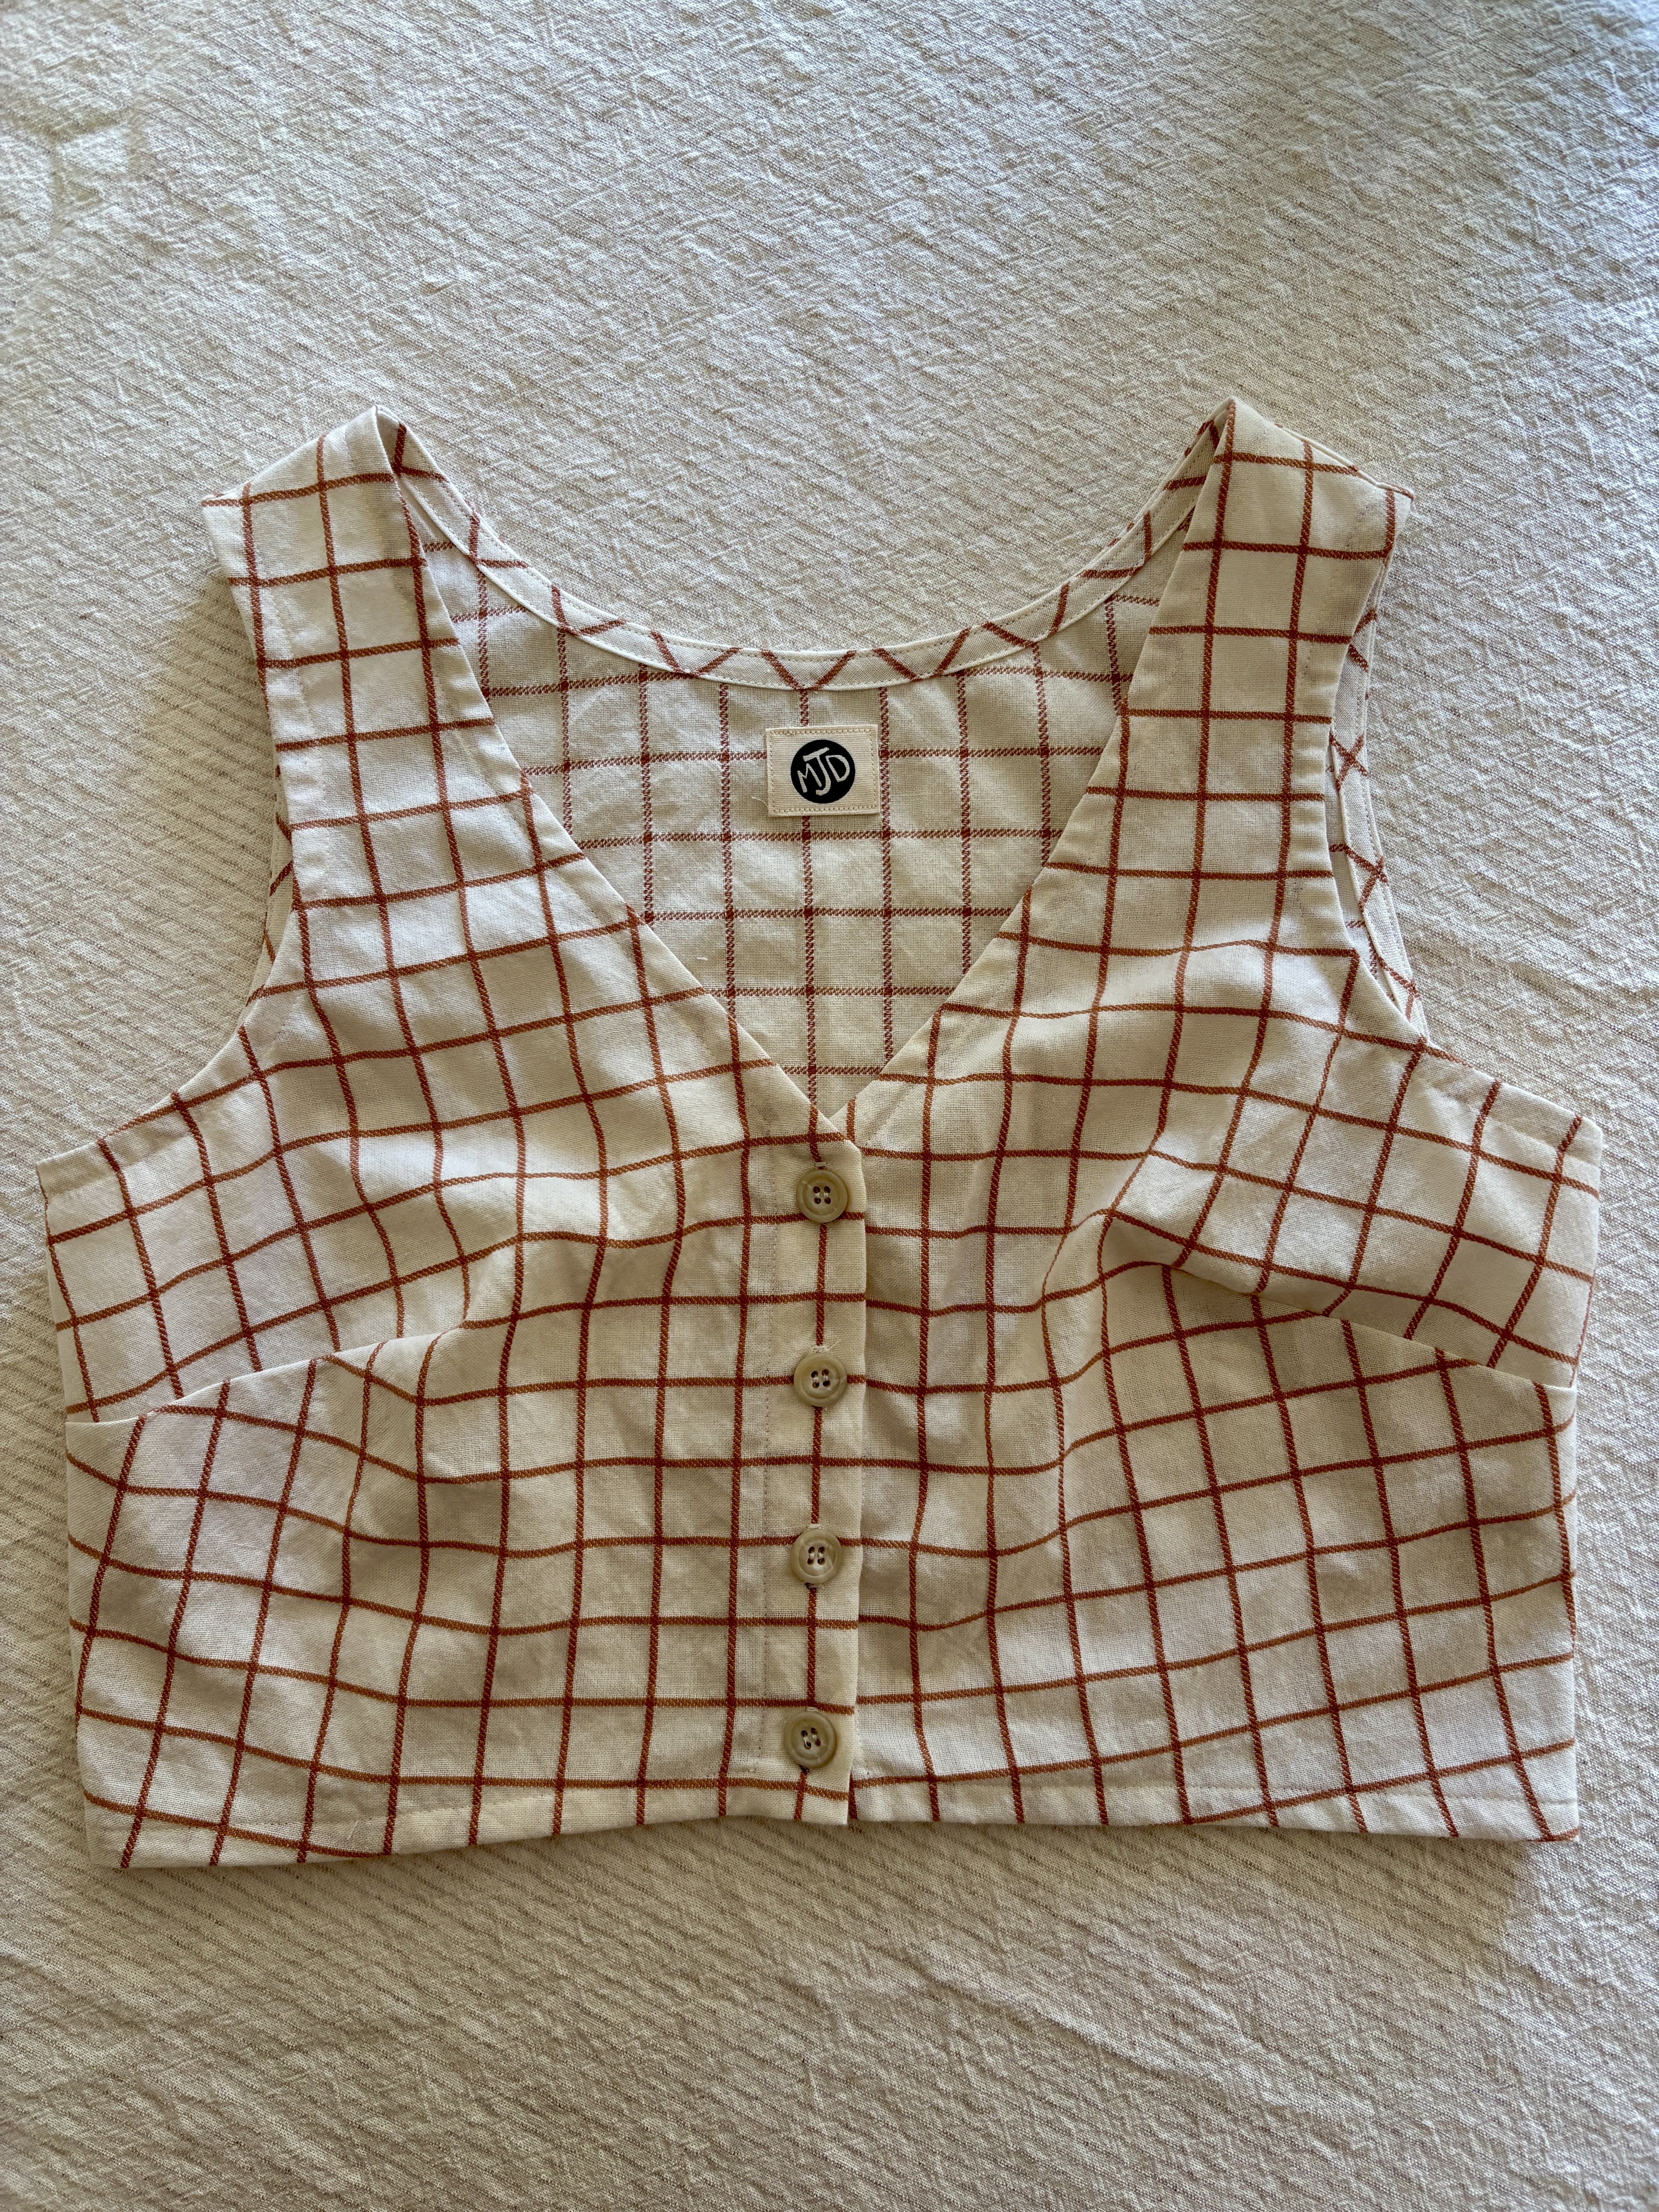
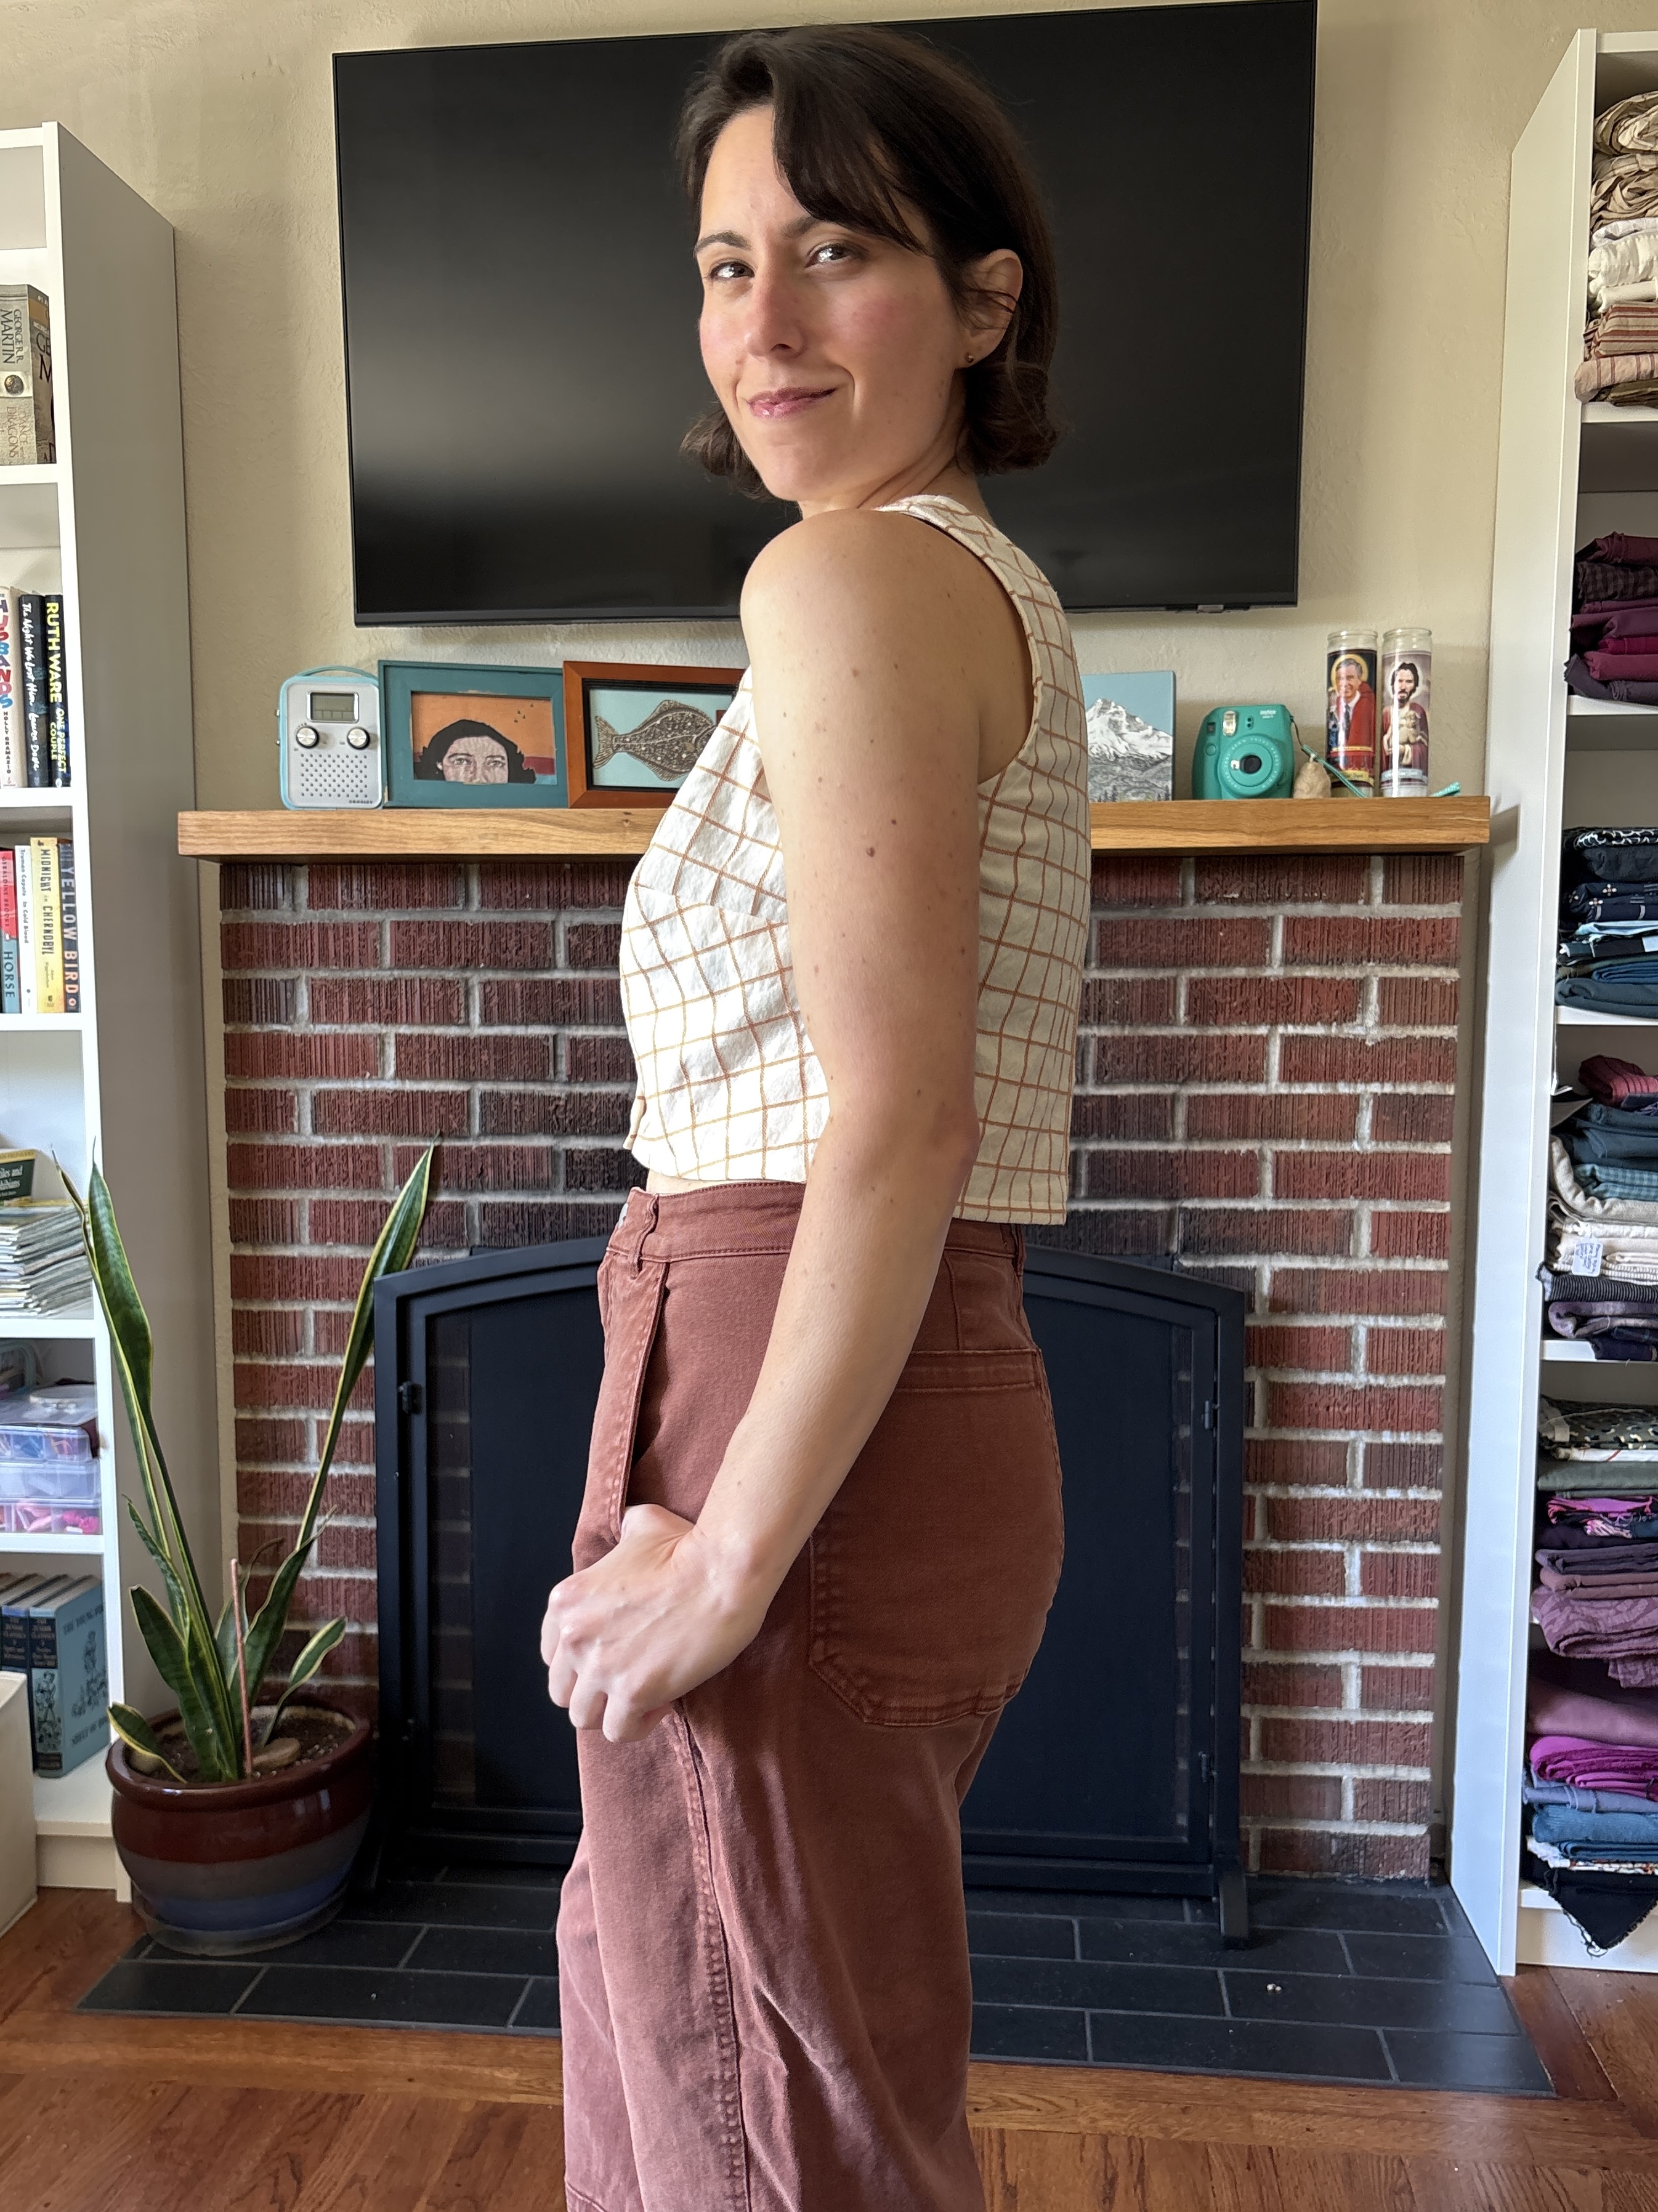
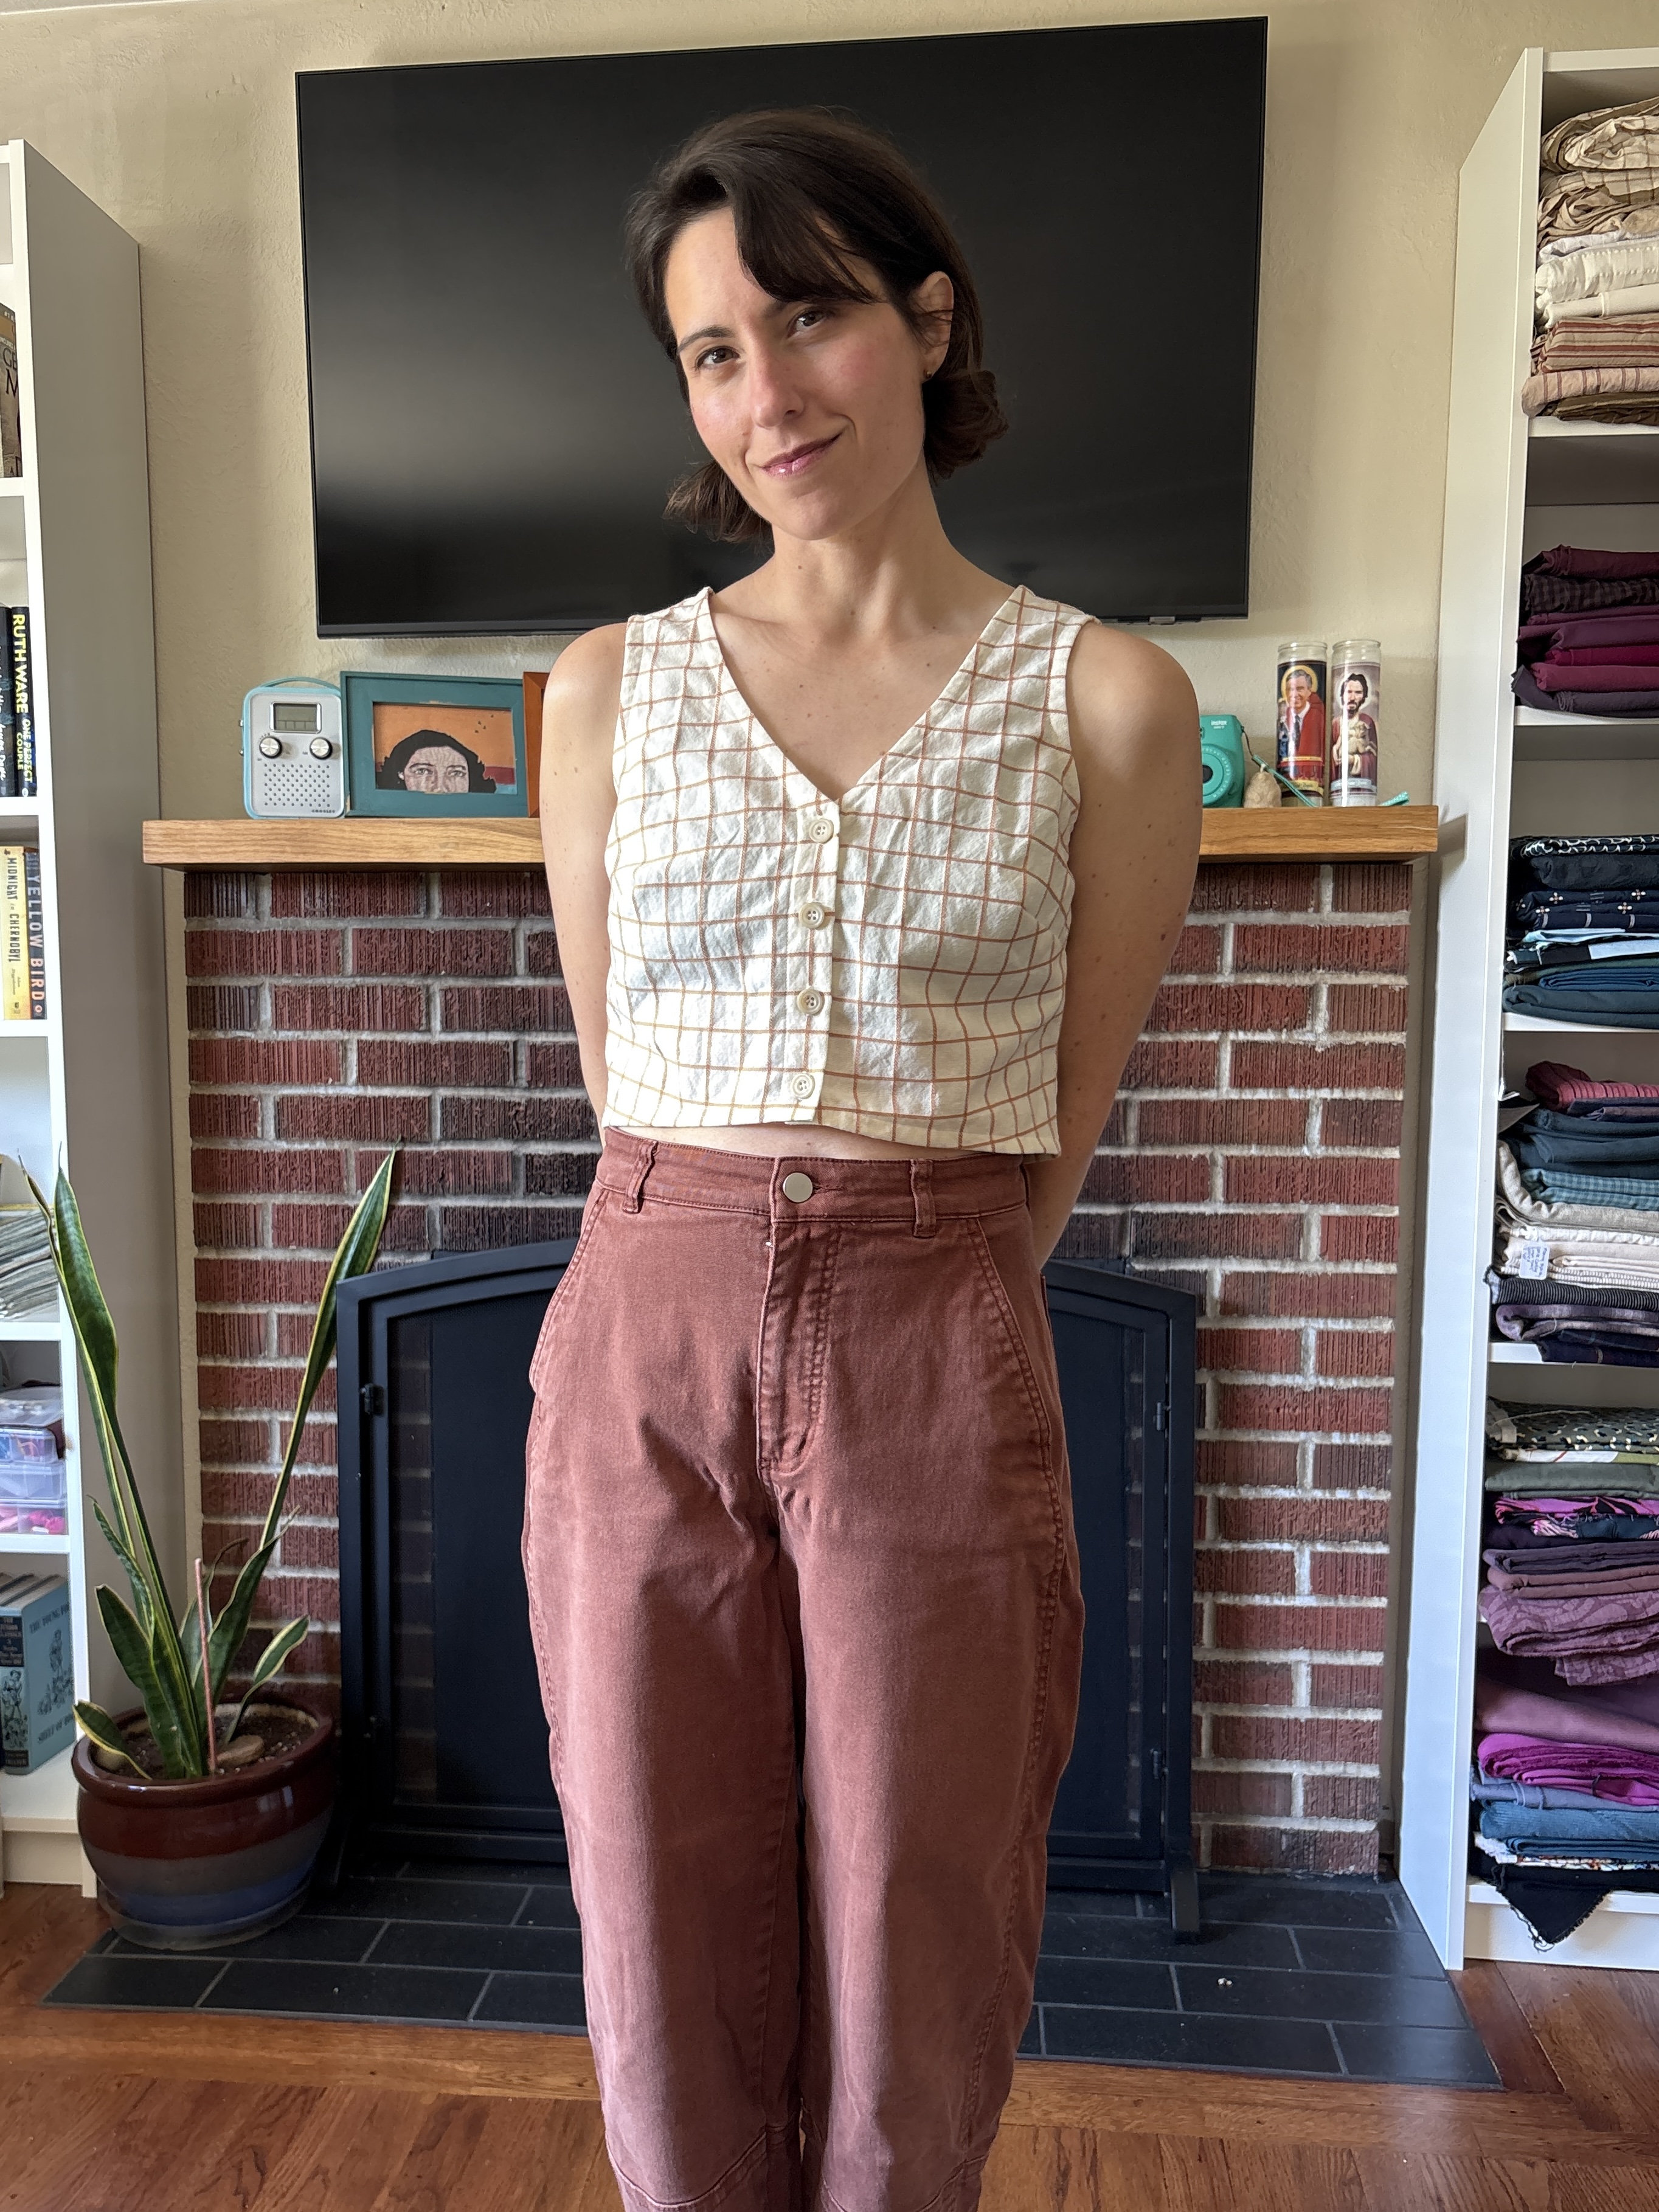
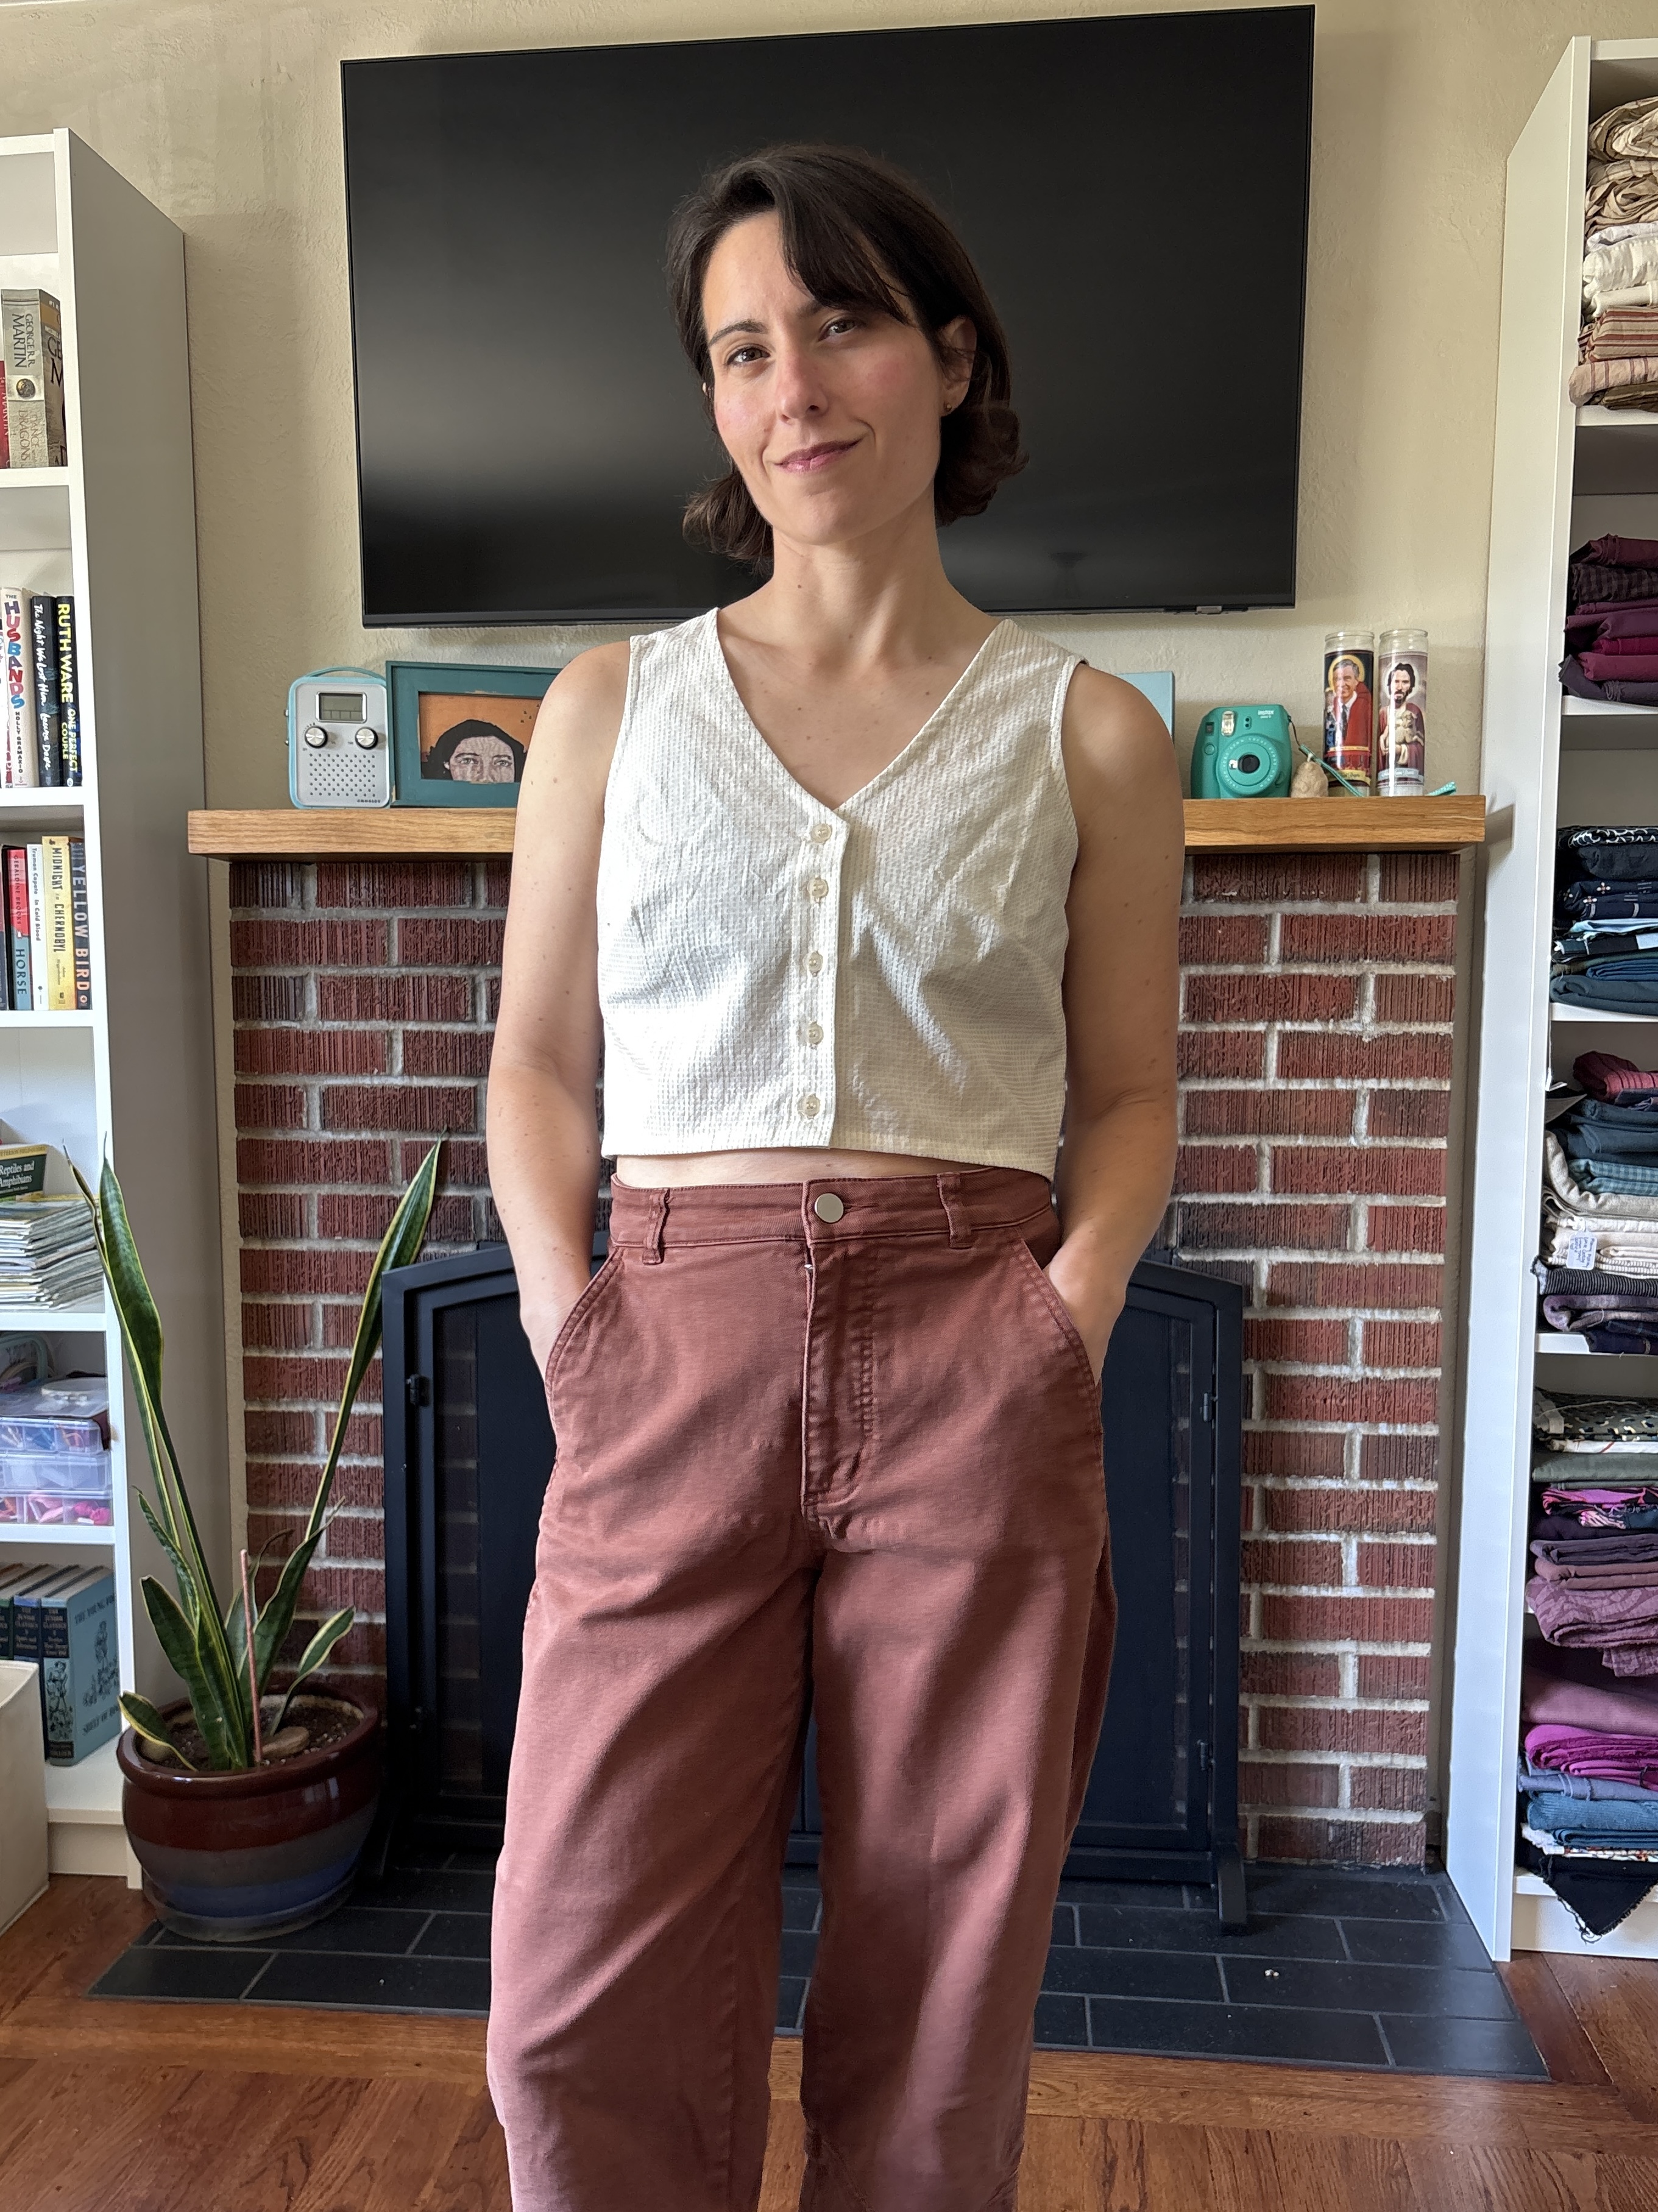
As you can see, the final product was a success! The tank top sits just below my natural waist and just at the waistline of most of my high waisted pants, showing a tiny bit of skin. I could easily lengthen this by another inch to get a more modest fit. My only regret is that I didn’t get around to drafting and sewing this until the end of summer! Oops!
I do plan on sewing more samples of this top. The final version was sewn in a cotton windowpane Fableism fabric that I was stoked about, but now I can see that the pattern was shifted by the dart in such a way that the horizontal lines don’t sit evenly with the hem, leading to a sloping optical illusion. In my wearable muslin, you can see the hem looks much more even, even though the pattern I used was nearly identical. For my next version, I’d love to use a solid cotton poplin or linen and use it as a canvas for some embroidery work.
This is a great basic and there are so many options for how I can make/wear it. That’s why I decided to name it the “Bull Thistle Tank Top” or just the “Thistle Tank.” It’s a hardy piece that grows everywhere and goes with anything. Who knows…maybe I’ll grow the guts to release this one commercially? May need to dig up a little more time first, though…
- M.J.