
October 10, 2026
Skills Insert 1: Four Different Waistbands, Four Different Looks
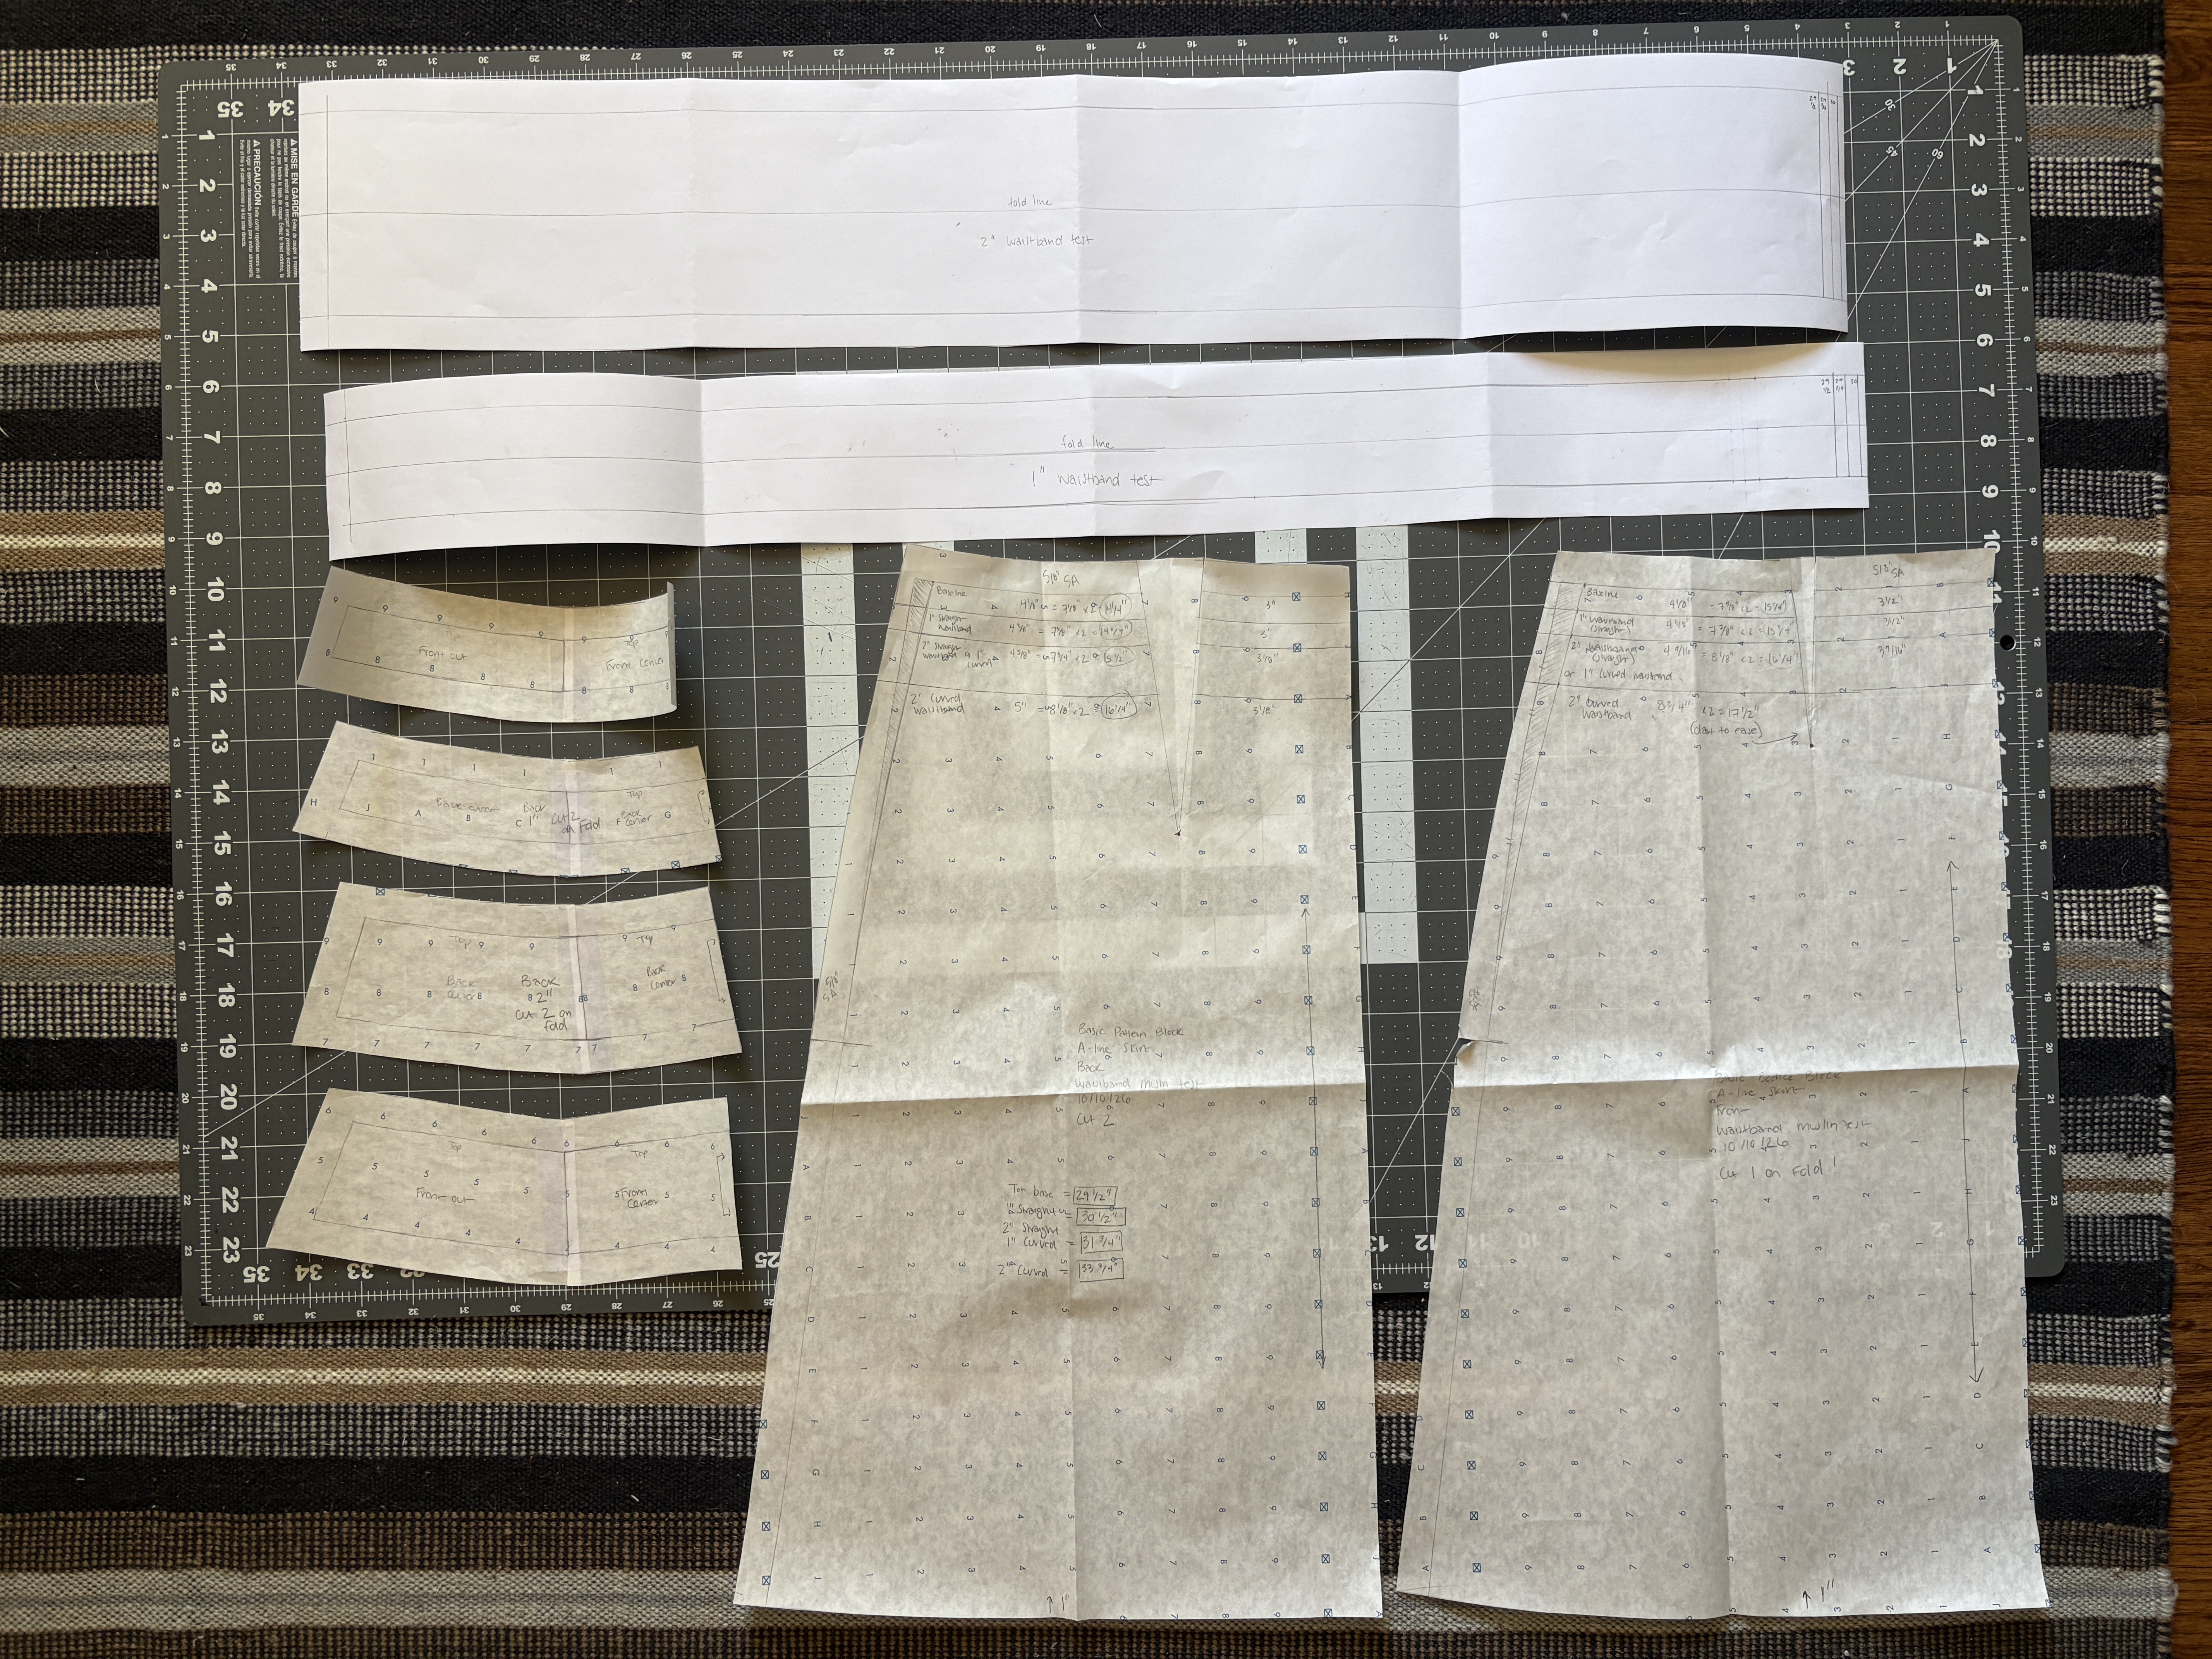
There are two basic waistbands that you can use for skirts and pants: a straight waistband, which is basically just a rectangle, and a curved waistband, which accounts for the difference in measurement between your waist and your abdomen. Seems pretty straightforward, right? But did you know that the type of waistband you choose and the width you make it can have a substantial effect on the way your garment will fit?
As part of Skills Insert 1, you’re asked to muslin test several different waistband types and widths using your A-line skirt block. While it sounds tedious, I’m hoping the following narrative will convince you why this exercise is absolutely worth your time.
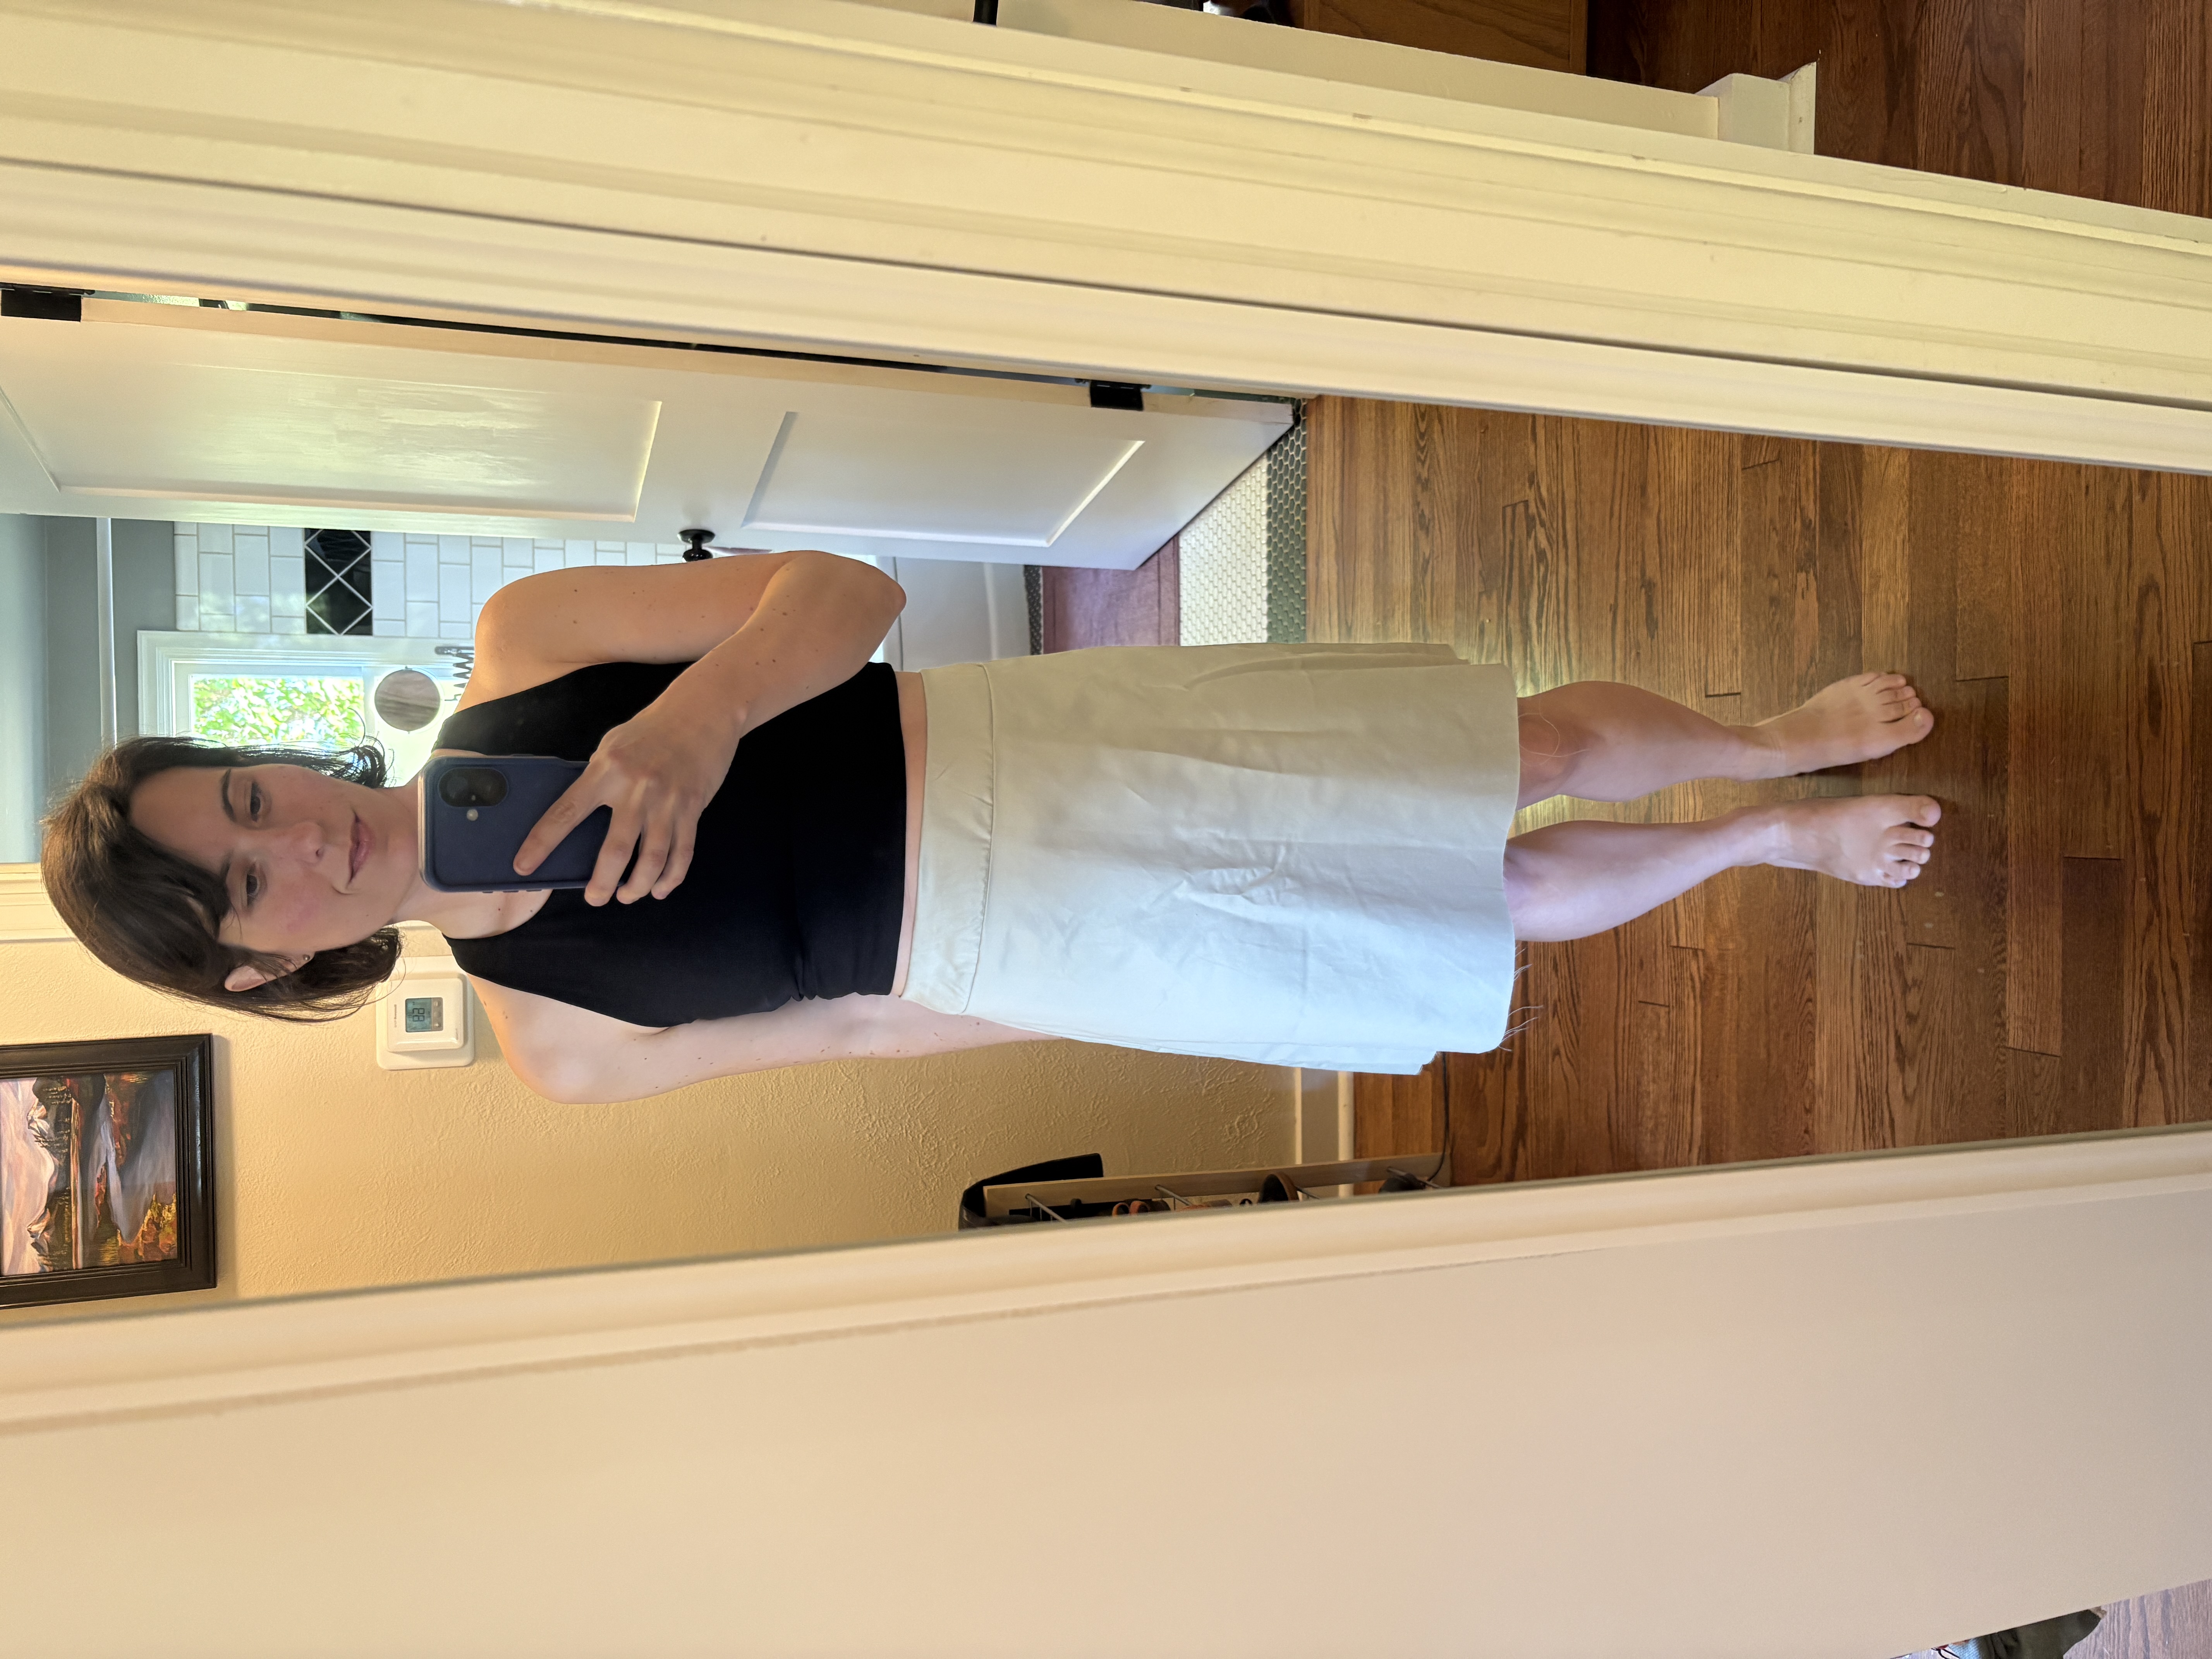
I tested four waistband versions using my A-line skirt block: a 1” straight, 2” straight, 1” curved, and 2” curved waistband. For my straight waistbands, I kept the block as is and drafted the waistband for a target length of 29.5” based on the ease I like in my pants and skirts. For the curved waistband, I docked the target width of the waistband from the top of my working pattern draft, then drafted the waistband to have an upper edge of 29.5” and a lower edge matching the new skirt waistline (~30.5” – 31.5”) using the slash and spread technique. The result is a pattern piece that accounts for the curvature of your waistline.
1” Straight – I generally liked the way this one fit, although it was a tiny bit on the tight side, so if I was repeating this for a real pattern drafting exercise I probably would up the length to 30”. The front darts were retained as drafted, meaning the skirt front accurately reflected my abdominal proportions without any tugging or drag. This was my first opportunity to test my new A-line skirt block, and I was able to confirm that the skirt was balanced and hung well (or well hung? Hue hue hue…).
2” Straight – This version was not such a success. Because I did not adjust the upper edge of my skirt pattern, the 2” waistband shifted the waistline of my skirt lower, so the fit felt tight over the curvature of my abdomen. Plus, without any curve in the waistband itself, I could see it getting stretched out of shape easily, even with interfacing. Now, if I was determined to make it work, I could dock about an inch off the top of the skirt pattern and adjust the length accordingly; however, there are better options (read on).
The verdict: Save the straight waistband for less fitted designs (like gathered skirts) or keep the width narrow.
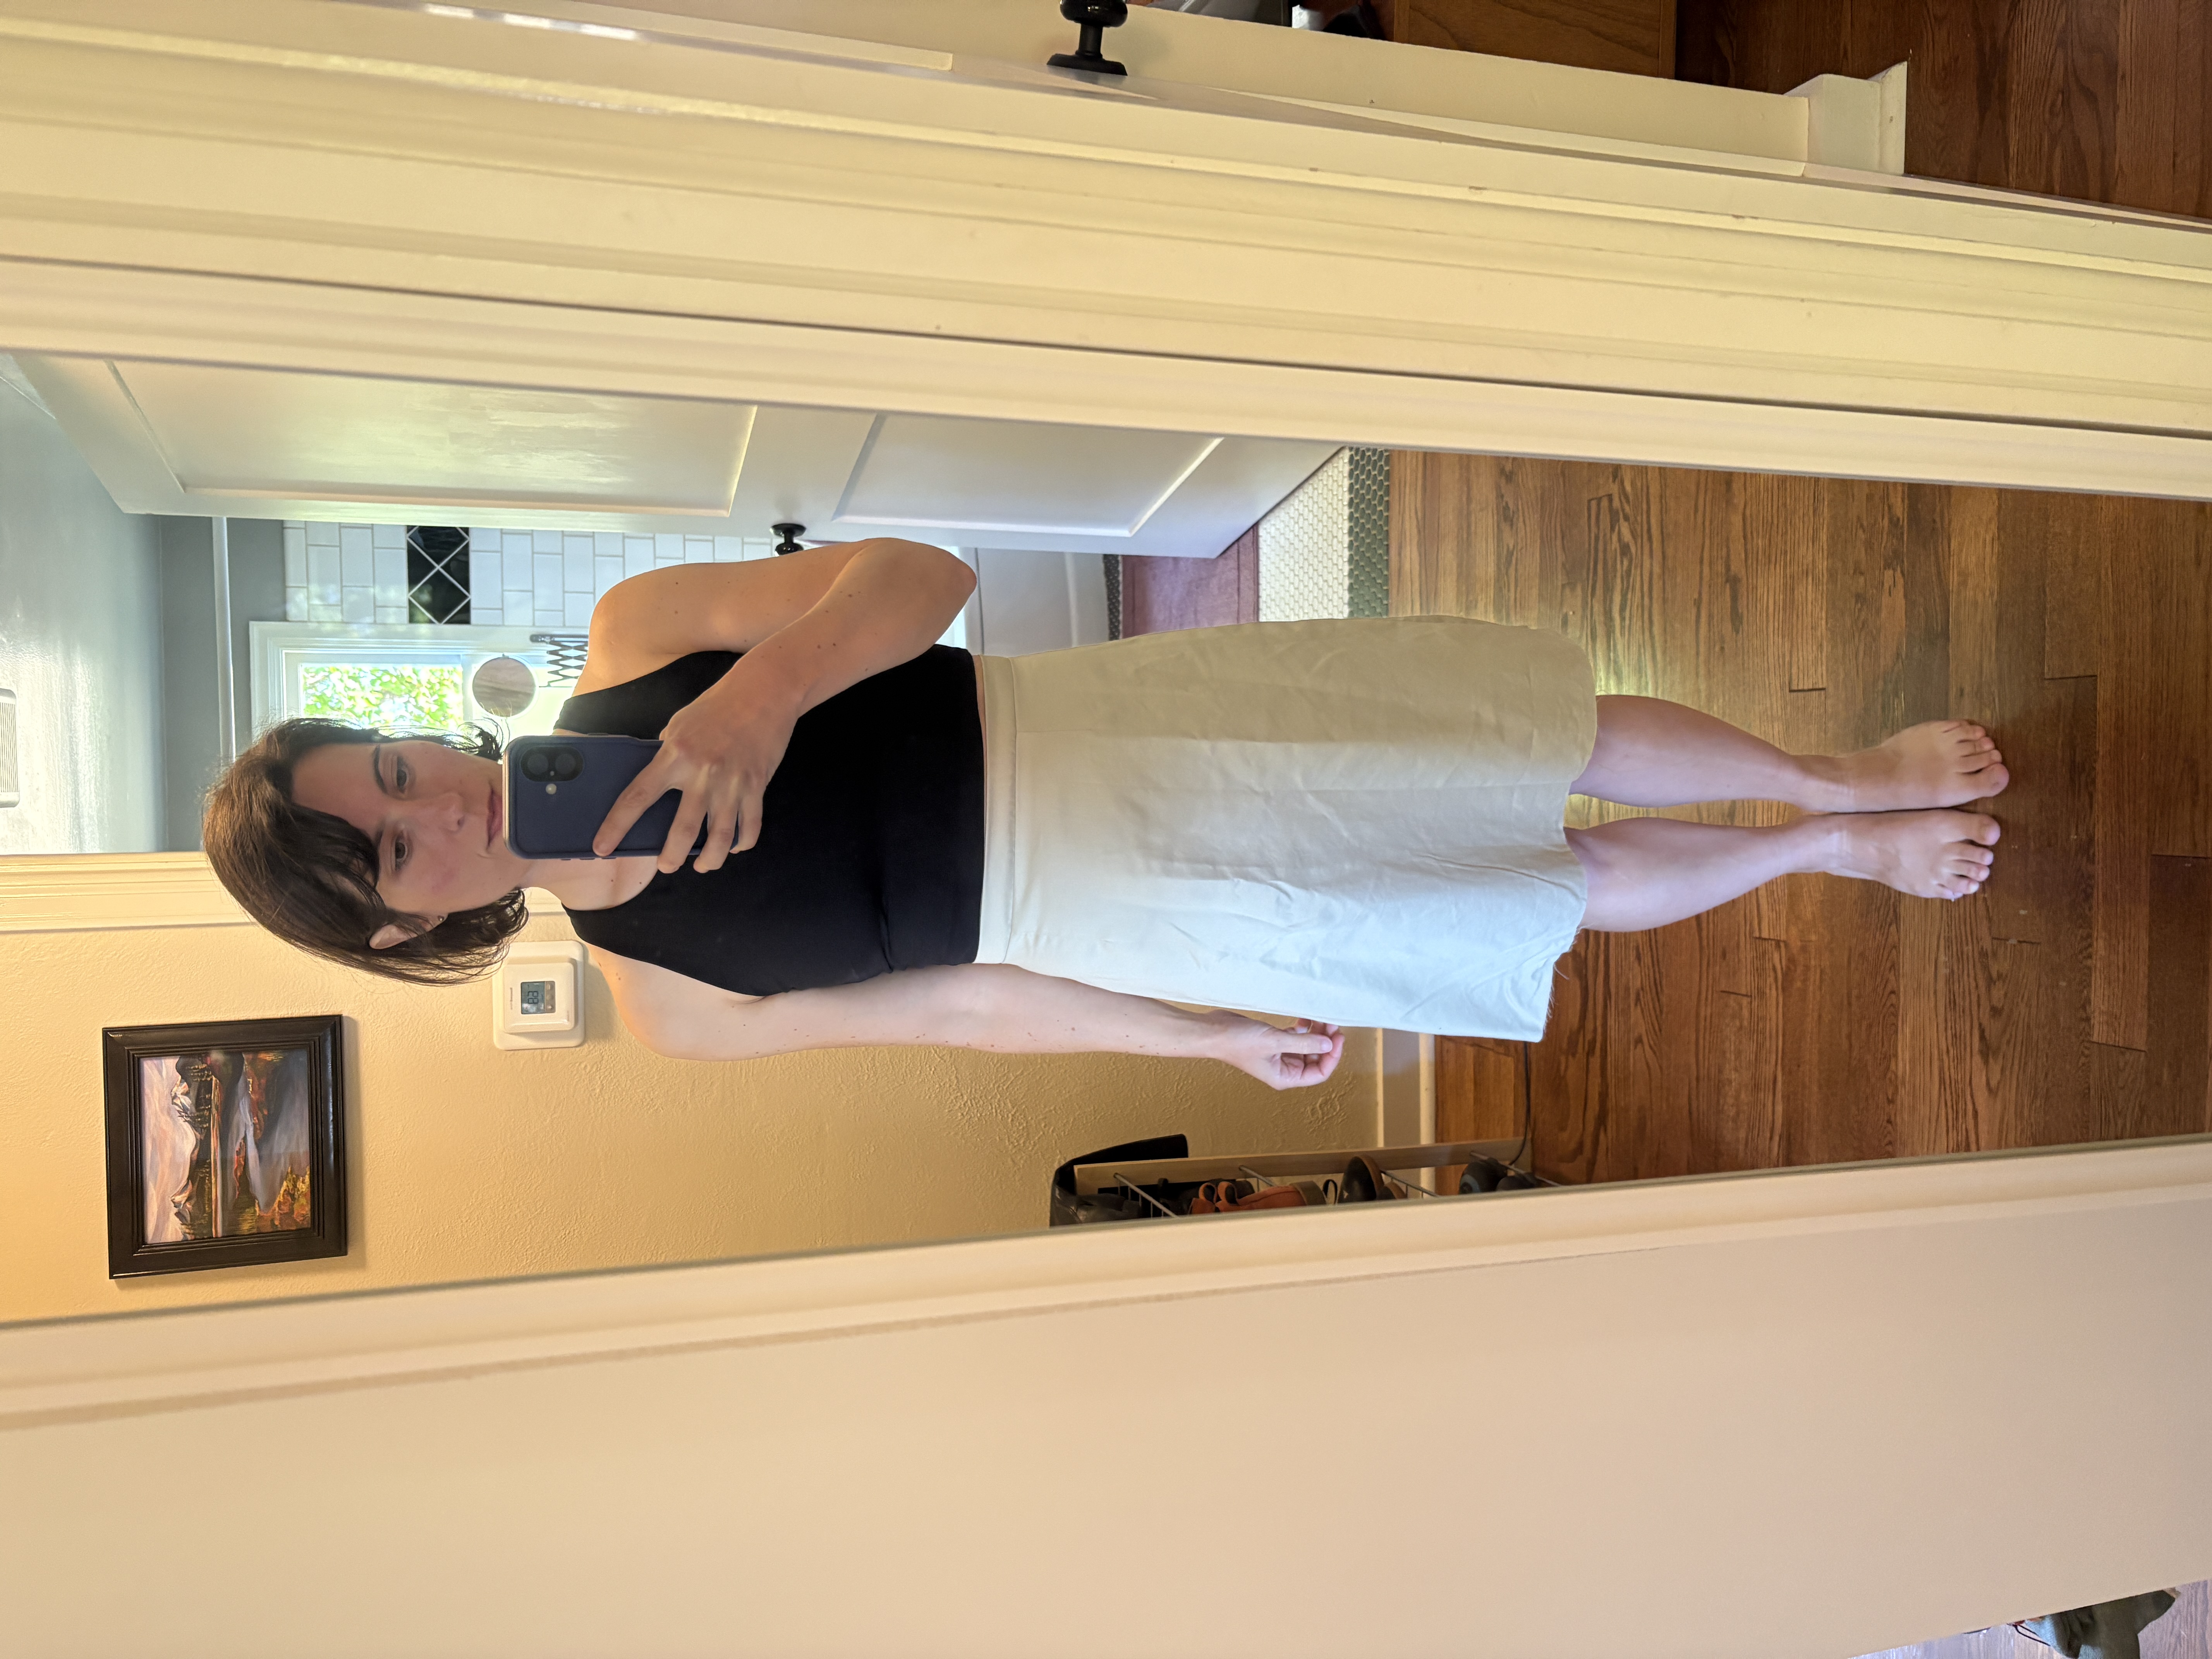
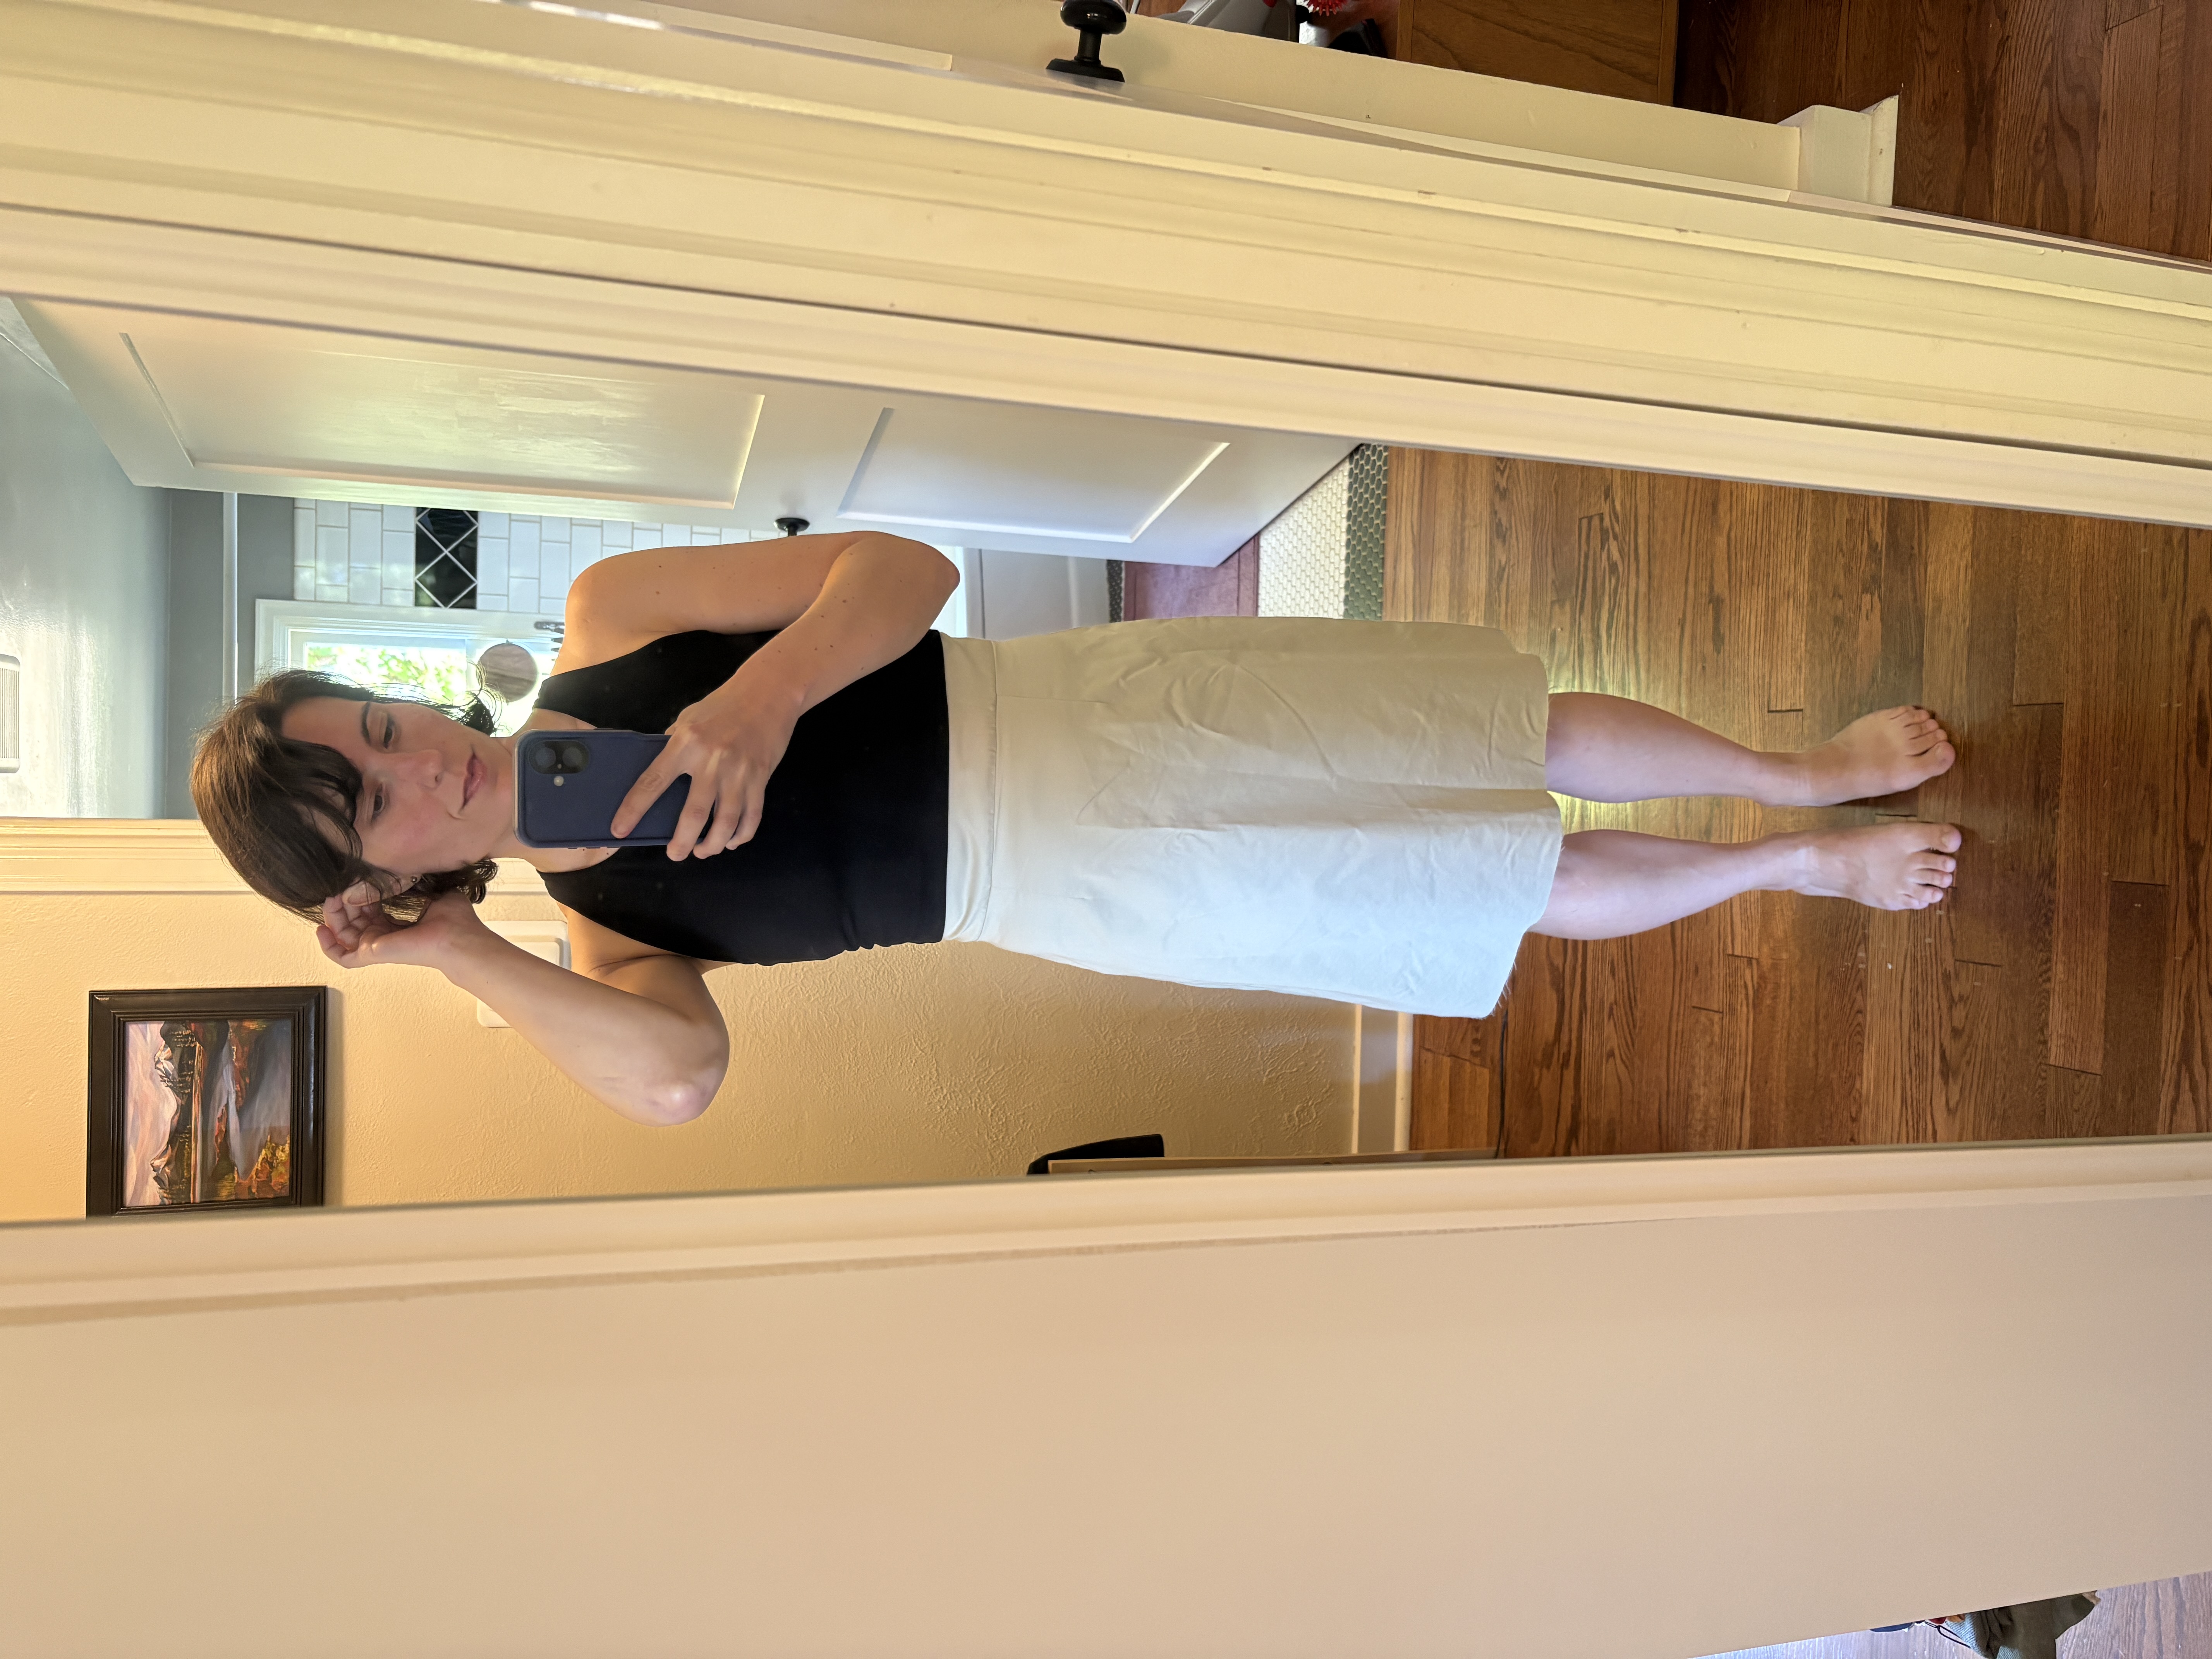
1” Curved – This one was also a win fit-wise; however, with the increase in width of the bottom edge of the waistband from 29.5” to 30.5”, the waistline of the skirt actually felt slightly loose! It’s pretty crazy how even a slight shift in the shape of the waistband resulted in a completely different fit. The other notable change was that, because I trimmed 1” off the top of the skirt pattern pieces, the dart length and width also shifted accordingly. This was fine in the back, but my front darts were already only 3/8”, so the adjustment resulted in tiny darts that were almost uselessly narrow.
2” Curved – For a wider waistband in a fitted skirt, it’s clear that a curved waistband is the way to go for me (ignore the sloppy sewing job on this muslin, I was four muslins deep, ok!?!?). Again, with the curved fit, the skirt waist felt a tiny bit loose, although this might have been mitigated if I had used interfacing. I also converted the front darts entirely to ease (they were only 1/4” wide after removing the top 2” of material from the skirt pattern), so the abdominal shaping disappeared somewhat. I wasn’t entirely pleased with this, as it resulted in some very minor drag lines from my lower abdomen. I think what I’ll have to do in the future is play around with trimming the side seams back a tiny bit to compensate
The verdict: A shaped waistband better accounts for a curvy waistline, but if you have narrow front darts and are drafting a wide waistband, you may have to adjust your fit.
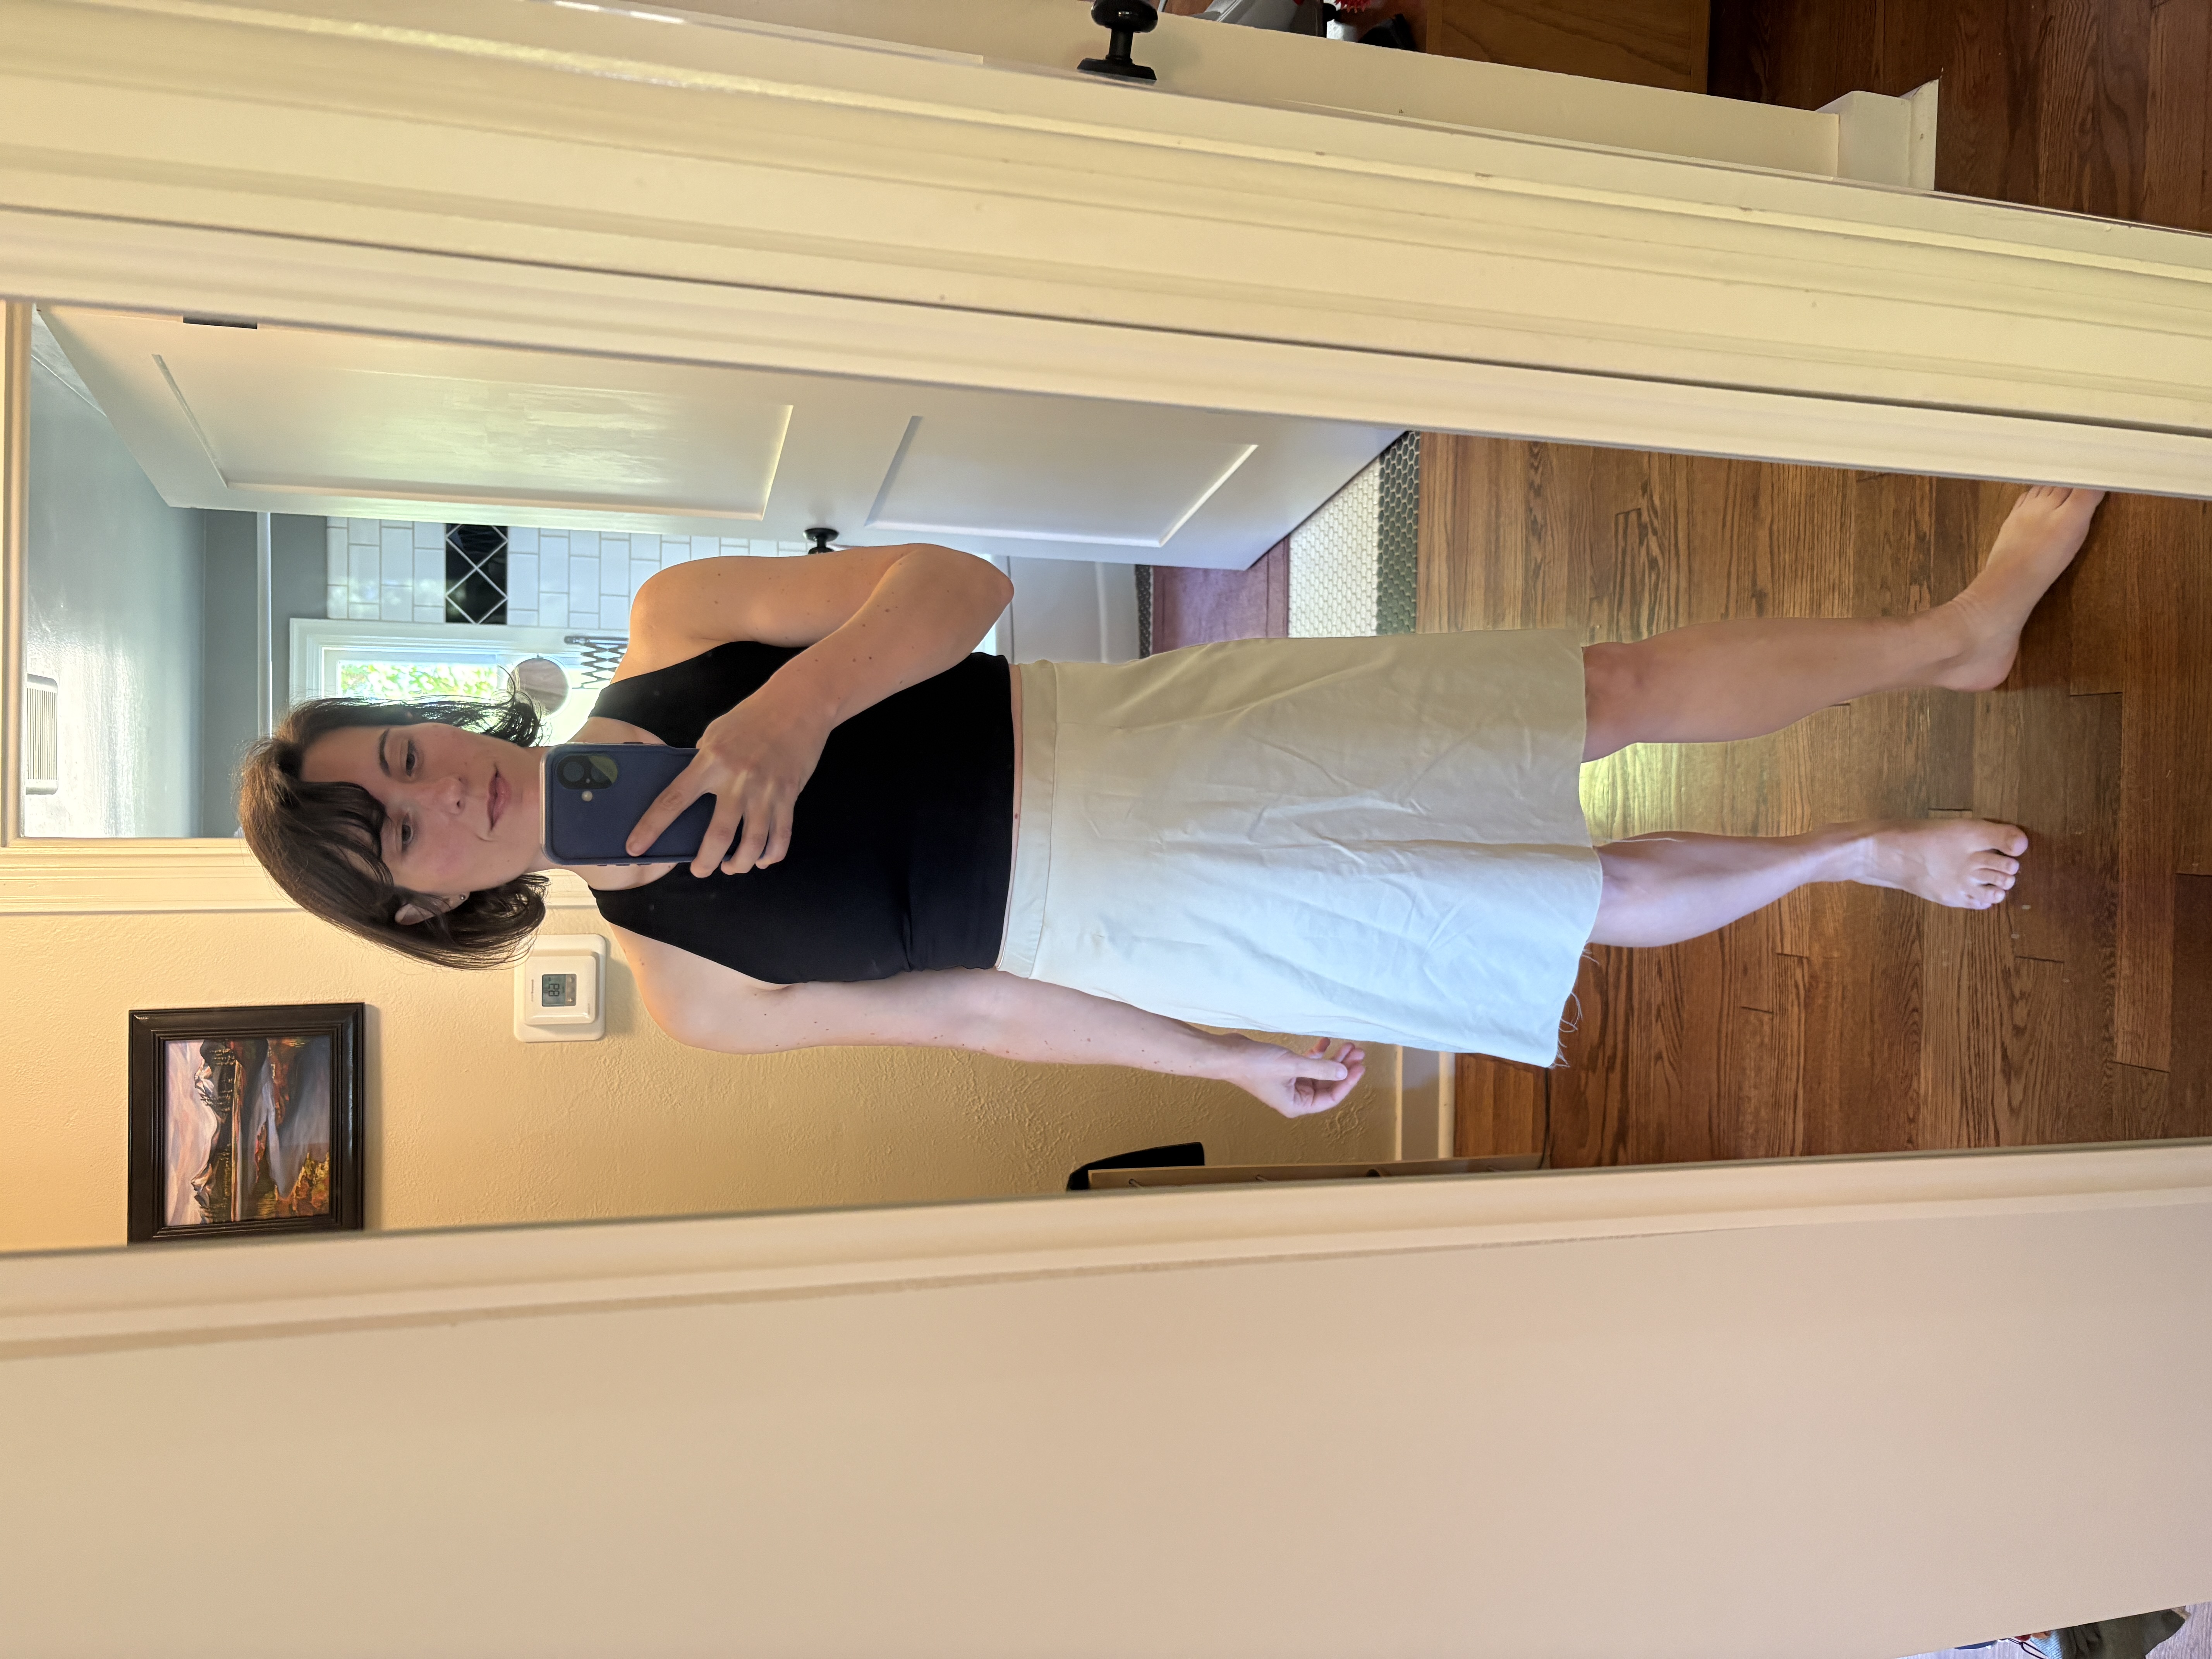
I’m looking forward to trying different combinations of waistbands in my future patterns, but for now I’m hopping off this muslin train!
- M.J.